Difference between revisions of "Installation on VMWare 0.27"
m (→Overview) |
m (→Modifying your TFTP Password) |
||
| (2 intermediate revisions by the same user not shown) | |||
| Line 190: | Line 190: | ||
If you wish to upload snapins larger than 2MB you will need to modify a few php settings in Fog. Please follow the link on how to edit your php.ini file in VIM - [[http://www.fogproject.org/wiki/index.php?title=FOGUserGuide#VMWare_2]] | If you wish to upload snapins larger than 2MB you will need to modify a few php settings in Fog. Please follow the link on how to edit your php.ini file in VIM - [[http://www.fogproject.org/wiki/index.php?title=FOGUserGuide#VMWare_2]] | ||
| + | See also: [[Troubleshoot Web Interface]] | ||
====Modifying your TFTP Password==== | ====Modifying your TFTP Password==== | ||
| Line 196: | Line 197: | ||
Please see the following link - [[http://www.fogproject.org/wiki/index.php?title=Unable_to_connect_to_TFTP]] | Please see the following link - [[http://www.fogproject.org/wiki/index.php?title=Unable_to_connect_to_TFTP]] | ||
| + | |||
| + | See also: [[Password Central]] | ||
Latest revision as of 03:41, 8 July 2016
Contents
VMWare Image Version 0.27
Overview
With the release of Version 0.19 of FOG we have also released a VMWare image. What we set out to do with this release was to attract new users to FOG by allowing users that may not have much spare time, to run fog without much effort. The image weighs in at just over 600MB zipped, and it based on Ubuntu server 8.04. We do not have plans nor time to release a vm image with every release of FOG, we may release an updated vm somewhere in the ballpark of every 5 to 10 releases. With that being said the VM does allow you upgrade to the latest version of FOG with minimal effort.
It was not our intent with this release to have users run this in a production environment, we would recommend that users wishing to run FOG in production, run it on bare metal whenever possible.
If you wish to set up a FOG server using VMWare please make sure that the host system has plenty of memory available due to the high amount of I/O generated by the server.
VMWare Software
To setup and run VMWare on a host machine you will first need to purchase and install either the VMWare Workstation or Server. Both products can be downloaded with a 30 day trial at VMWares site [1]. I have been informed that you can also run this installation on VMWare player (free) but I have not been able to confirm this. This tutorial will focus on the installation and configuration using the VMWare Workstation, however this can easily be applied to ESX Server or any other virtual appliance.
Known Issues
Running the VMWare image on a Windows operating system is fairly straight forward, however there are a few things you will need to look out for when you are first getting started.
- Network Card Configuration
- IP Configuration
- Editing php.ini in VIM
- Changing the default root password
- TFTP Password Configuration
We will cover the setup and configuration of these items in installation guide. Please note, there are also knowledge base articles that can assist you further with this.
Installation
VMWare takes the least amount of configuration, and is a great way to get started working with FOG.
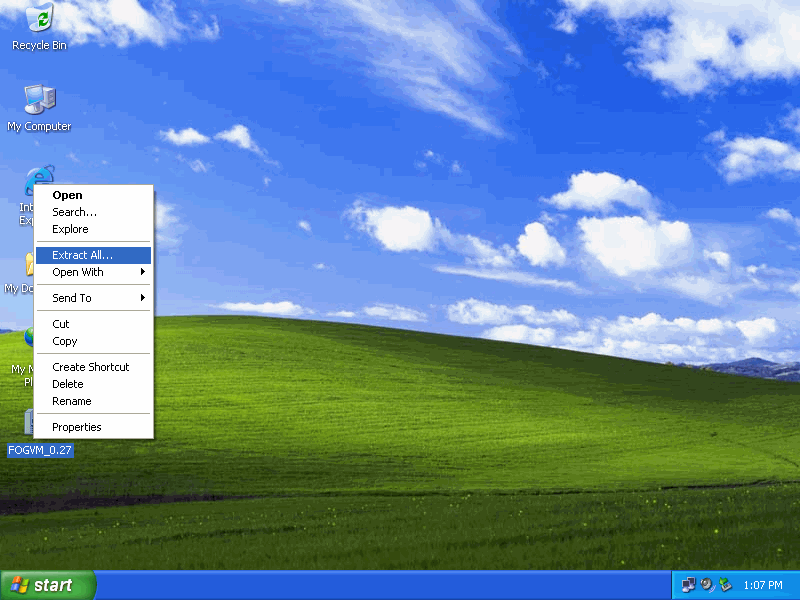
Start by downloading the latest VMWare image off of Sourceforge's website [2] and saving it to a working directory, in this example I am going to save it to my desktop. Unzip the download and extract it to its own folder.
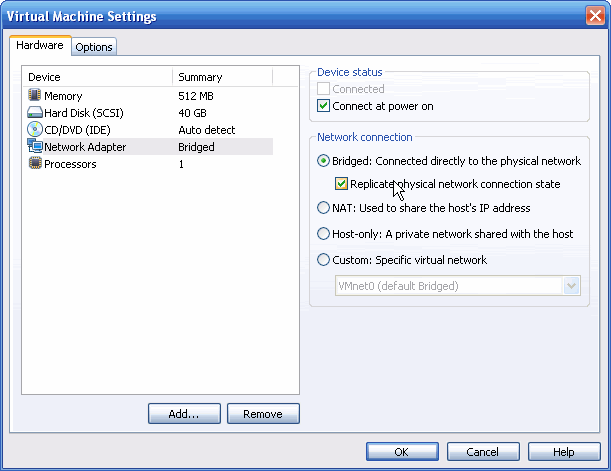
Open the FOGServer.vmx in the extracted folder and then go to Edit virtual machine settings.
When using VMWare you will want to edit the network configuration settings so other PC's are able to reach the server on your network. I highly suggest that for the inexperienced user that you use a bridged network configuration as shown in the image above.
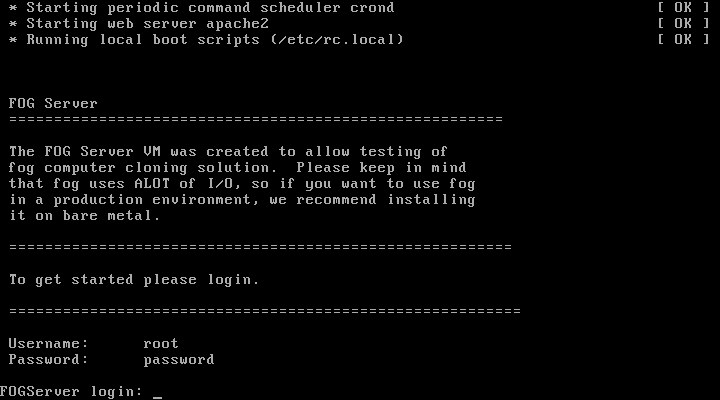
Let VMWare start up, and then log into the server using the supplied password. (root / password)
FOG will now ask you to input your current networking information. It is important that you take the time to find out what network settings you currently have in place.
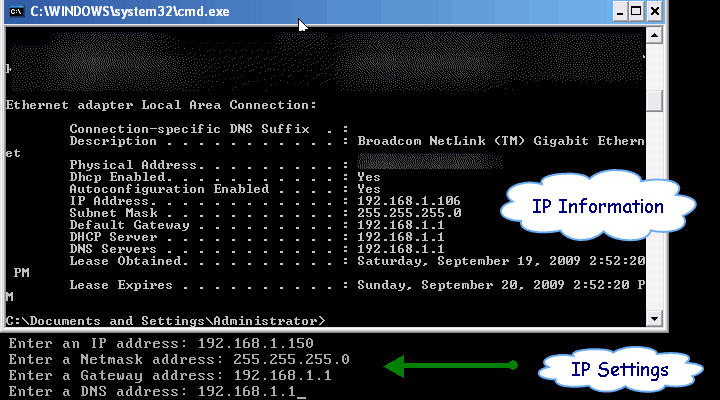
- Go to your command prompt and do an ipconfig /all to view your current IP information.
- Enter a new IP address not currently taken by your DHCP server, and match the rest of your networking information (Subnet / DNS / etc.)
- If you are unsure of what type of networking you have in place you can visit our Knowledge Base for further information.[[3]] We have articles on configuring FOG for a home networks as well as Enterprise environments (DHCP server / etc)
Below is an example of how I configured my VMWare image. Your results may vary depending on your networking setup and location.
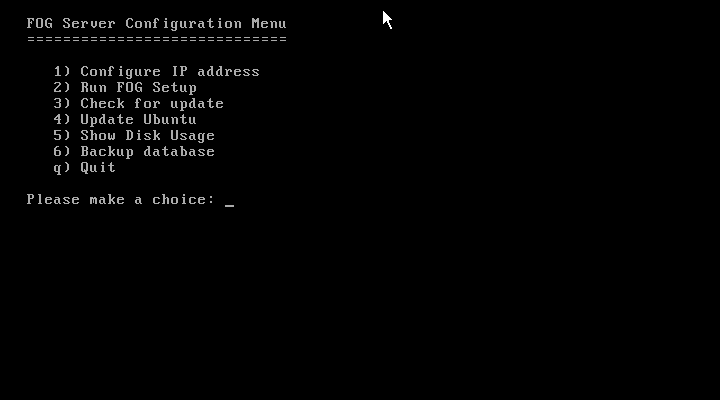
Now that Linux has your networking information it will not proceed with the installation and configuration of FOG.
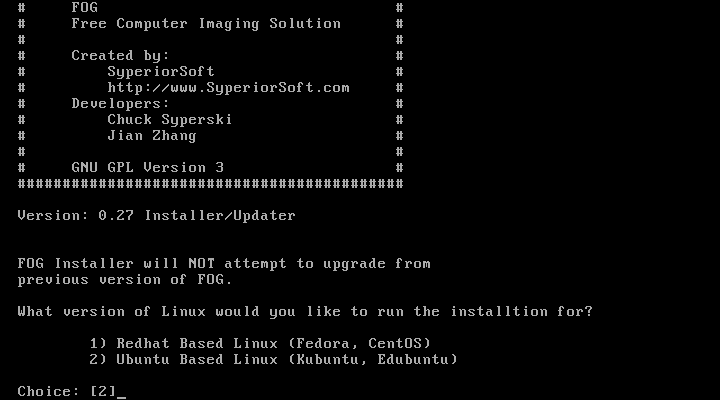
FOG will ask you What version of Linux would you like to run the installation for?
- Redhat Based Linux (Fedora, CentOS)
- Ubuntu Based Linux (Kubuntu, Edubuntu)
Choice: [2]
By default the VMWare image is setup to go with Ubuntu, so hit enter [2] and continue with the installation.
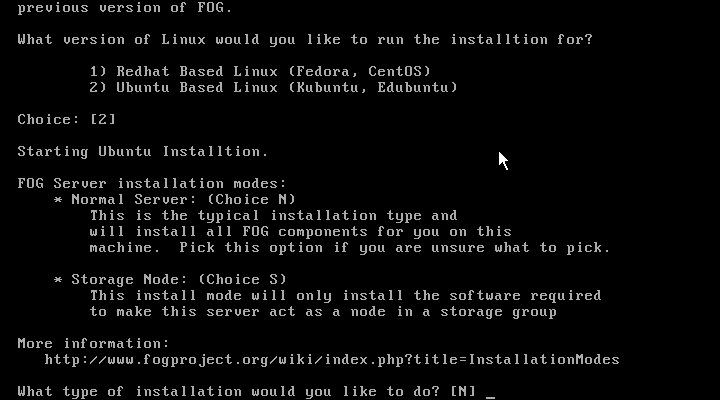
Hit [N] for a normal server installation. If you wish to learn more about advanced storage options with FOG please read our knowledge base articles [[4]]
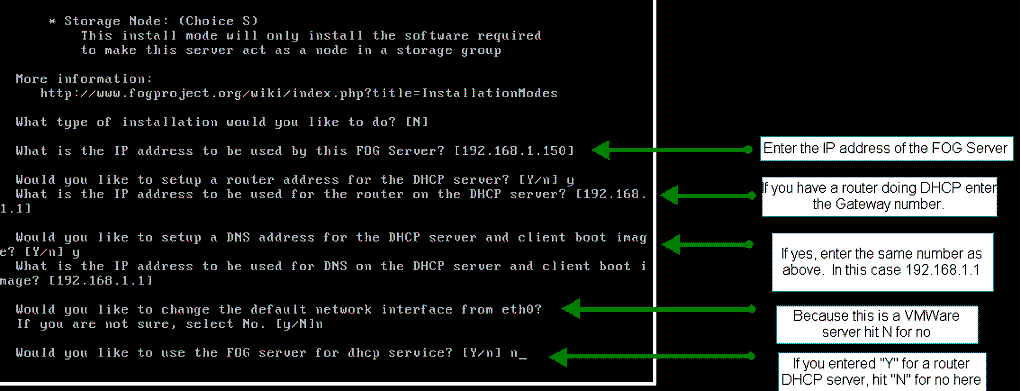
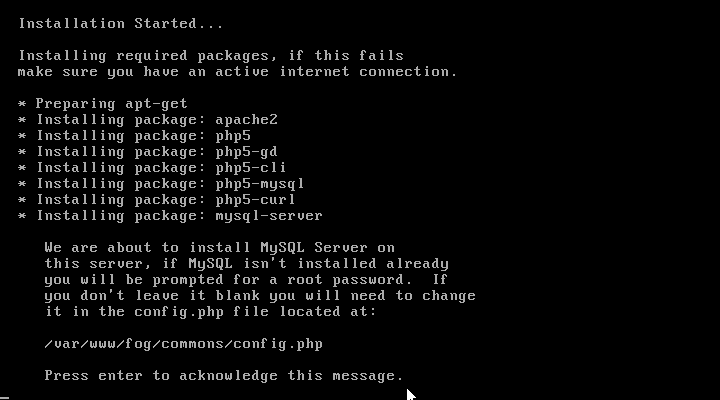
Now FOG will proceed with the installation and configuration. You will be asked some more networking questions. Below is an example of how I set up my own FOG VM server. Please note that this information may be different for you, so check and verify your own networking settings before proceeding further.
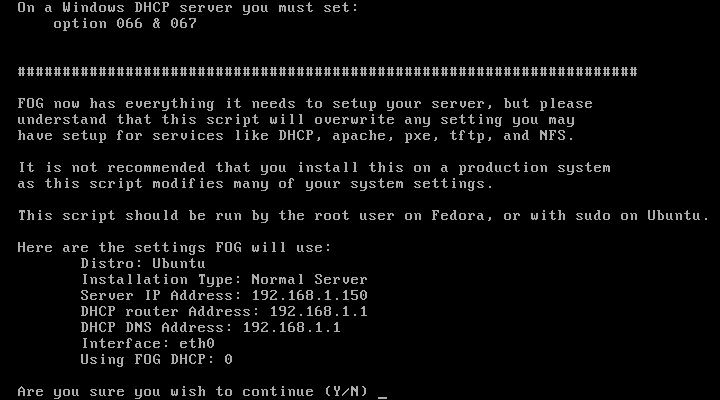
FOG now has everything needed to setup and install on your VMWare image. Hit Yes and continue with the installation as shown below.
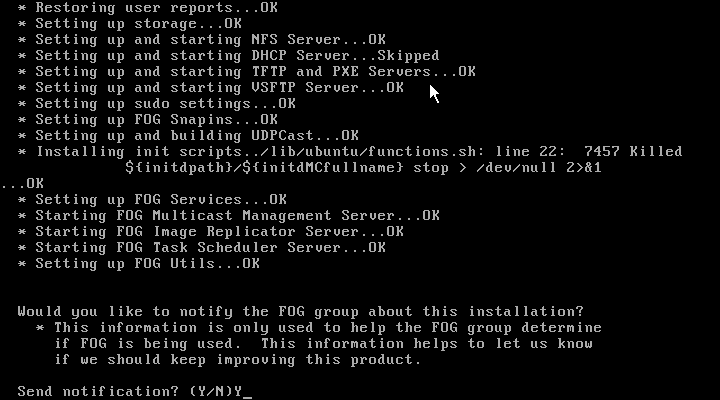
Please select yes and send some some information off to the FOG developers to know how many active users we currently have with this project. No personal information is retained when doing so, just your IP address.
Testing the Install
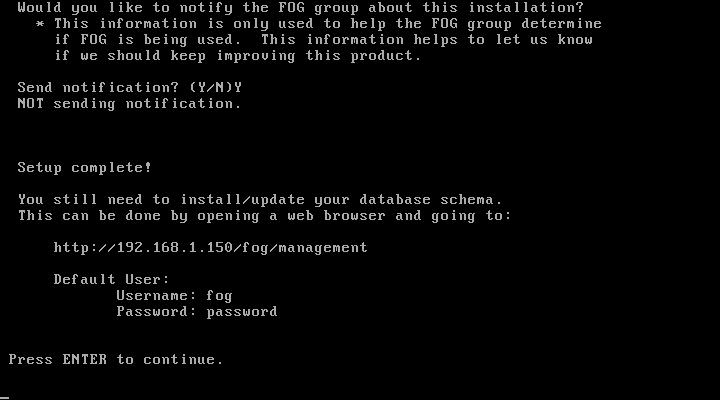
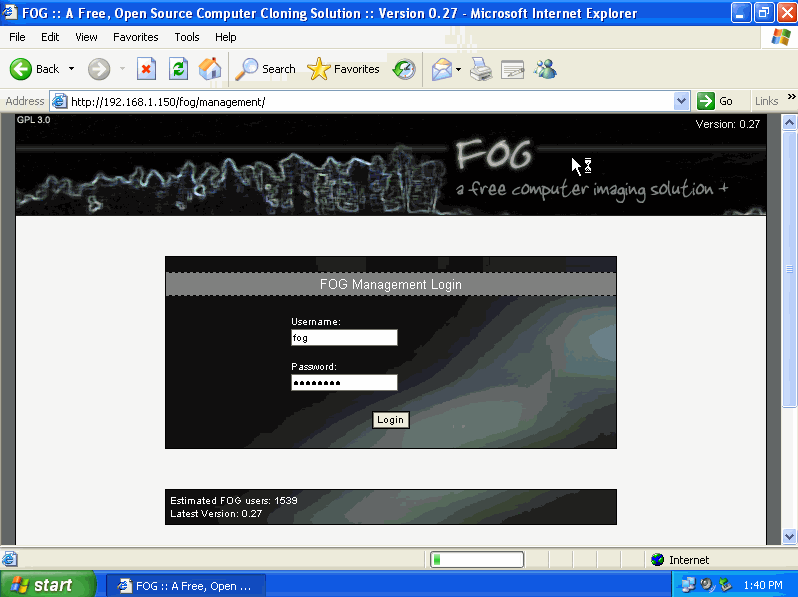
Let the FOG server run and go back to your host machine and attempt to log into the web interface. I set my FOG server to be 192.168.1.150 so all I need to do is enter that into the web address line in my browser.
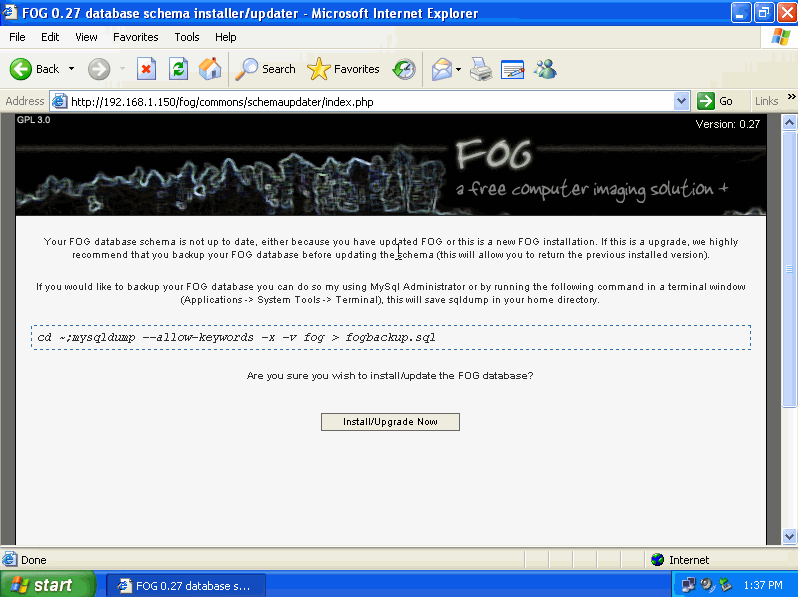
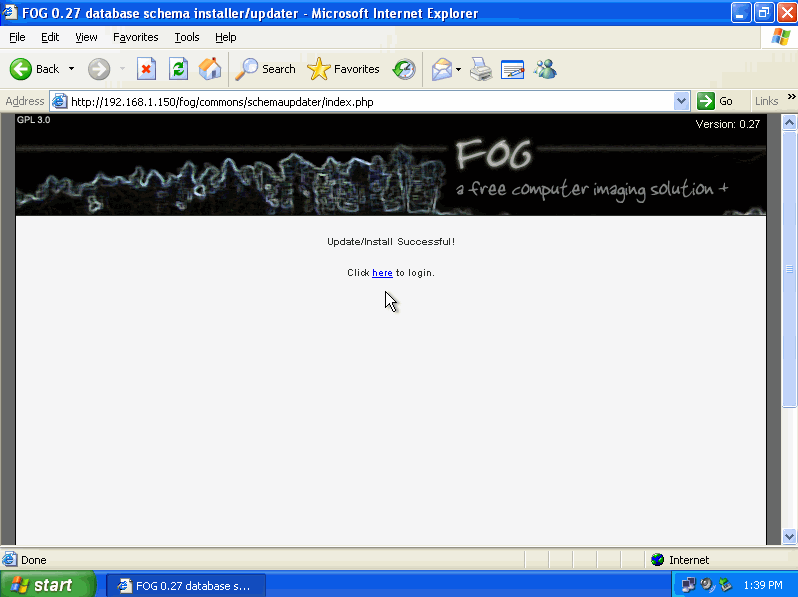
You will need to backup your database prior to using FOG for the first time.
Remember that the default login for FOG is (fog / password )
Your FOG installation is now complete! You can test / verify this by PXE booting a different PC on your network and seeing if it works.
Important please read
Additional DHCP configuration will need to be completed if you are using a Windows Server for DHCP or a router with non standard firmware (DD-WRT / Tomato / etc). Please see our knowledge base articles on this - [[5]]
Additional Configuration
Because the VMWare of FOG is based upon Ubuntu, we will need to perform some additional configuration before FOG is fully functional.
Please note: If you ever re-run the FOG setup (option 2) you will need to modify these settings again.
Root Password
We will need to change the default Root password of the VMWare installation. To do this please type the following.
passwd fog
Enter new UNIX password: password
Retype new UNIX password: password
Once you type and verify the new password you are finished. Example is shown below
Modifying PHP to allow larger snapins
If you wish to upload snapins larger than 2MB you will need to modify a few php settings in Fog. Please follow the link on how to edit your php.ini file in VIM - [[6]]
See also: Troubleshoot Web Interface
Modifying your TFTP Password
You are also going to want to modify your TFTP password so you are able to made additional customizations. Being able to FTP into your FOG server will allow you to modify the pxe boot menu to allow additional software plugins / chang your background image / backing up images / etc.
Please see the following link - [[7]]
See also: Password Central
